
🔴 Live Flood Status
Checking current Puyallup River conditions for Puyallup, Orting, and Sumner…
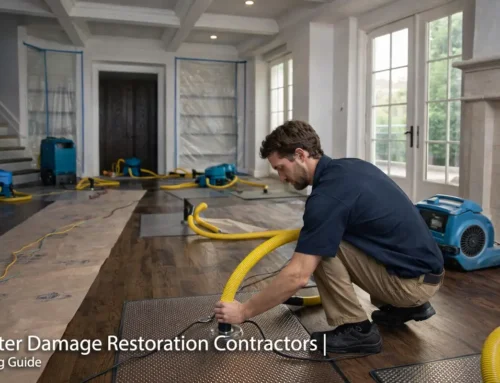
Flood Damage Repair Timeline: What Happens After the Water Is Gone
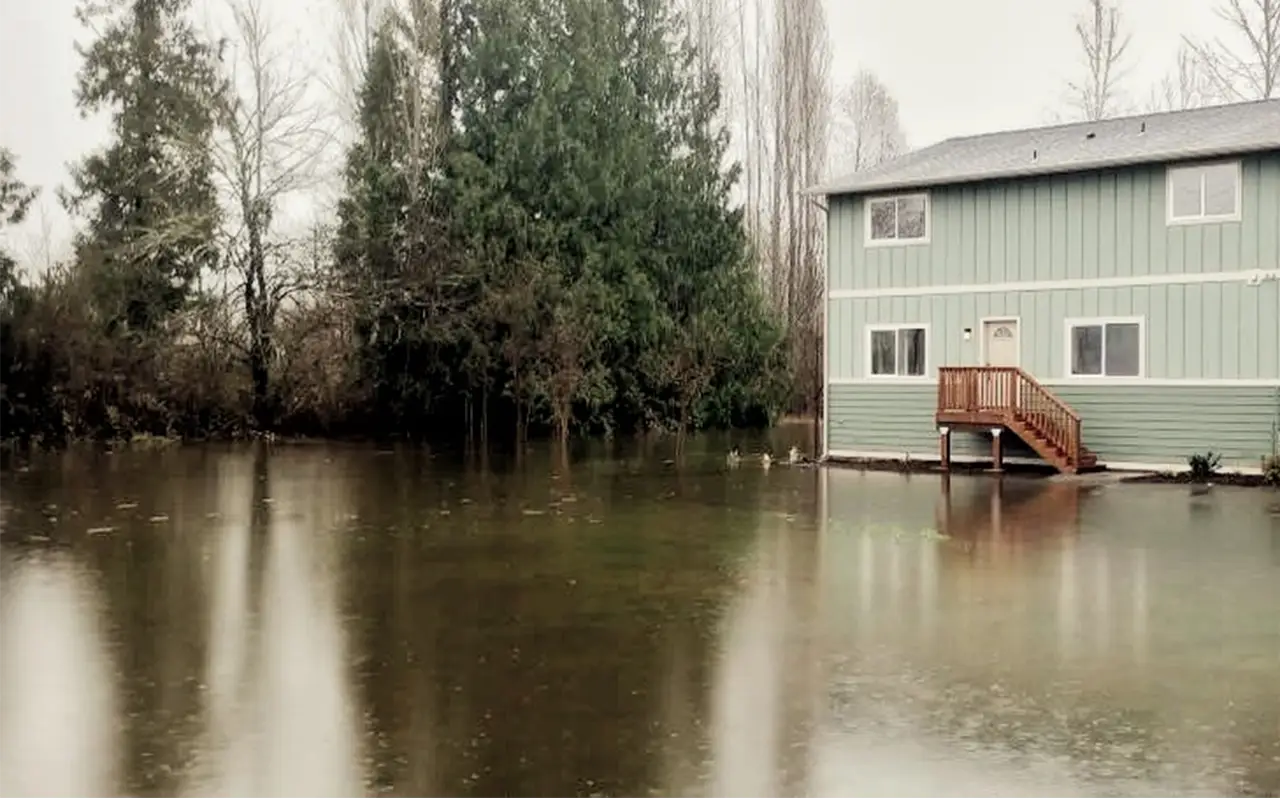
Flooding doesn’t end when the water goes down. The real damage often shows up over the next few days as materials dry, humidity shifts, and hidden moisture moves into walls, floors, and crawlspaces. This flood damage repair timeline explains what typically happens after the water is gone, what to prioritize first, and how homeowners can reduce long-term repair issues.
If you’re in a flood-prone area or you’ve recently dealt with heavy rain runoff, this guide will help you understand the next steps without guessing. The goal is simple: stabilize the home, reduce moisture, and prevent avoidable damage while you plan the right repairs.
What the Flood Damage Repair Timeline Looks Like
Every home is different, but most post-flood recovery follows the same general stages. Some homes dry quickly with minimal impact, while others hold moisture in insulation, subfloors, and framing for weeks. The timeline depends on how water entered, how long it stayed, and what materials were affected.
Key factors that change the timeline
- Water source: clean water, groundwater seepage, or contaminated floodwater
- Time: how long materials stayed wet
- Materials: carpet, padding, drywall, insulation, engineered wood, and MDF react differently
- Airflow: crawlspace ventilation, HVAC usage, and weather conditions
- Access: whether wet areas can be opened up to dry properly
A common mistake is assuming “it will dry on its own.” Sometimes it does, but often it dries unevenly. That’s when odors, swelling, stains, and mold risk increase. Knowing the typical sequence helps you make better decisions early.
First 24 Hours: Safety and Damage Control
The first day is about safety and stopping the problem from getting worse. Do not rush into cleanup if there’s any chance of electrical risk or structural instability. If water has reached outlets, panels, appliances, or a furnace area, treat it as a serious hazard.
Immediate priorities
- Confirm safety: avoid standing water near electrical equipment
- Stop the source: leaking supply lines, failed sump pump, blocked drains, or exterior runoff
- Document conditions: photos and video of water lines, affected rooms, and wet materials
- Remove what you safely can: small items, rugs, and loose belongings off wet floors
If water reached a crawlspace, take it seriously even if you don’t see damage inside the home yet. Moisture under the house can rise into floors and lower walls over time. Early attention can prevent bigger repairs later.
Next, we’ll cover what usually happens in the first 48 hours and why drying after flooding needs a plan, not guesswork.
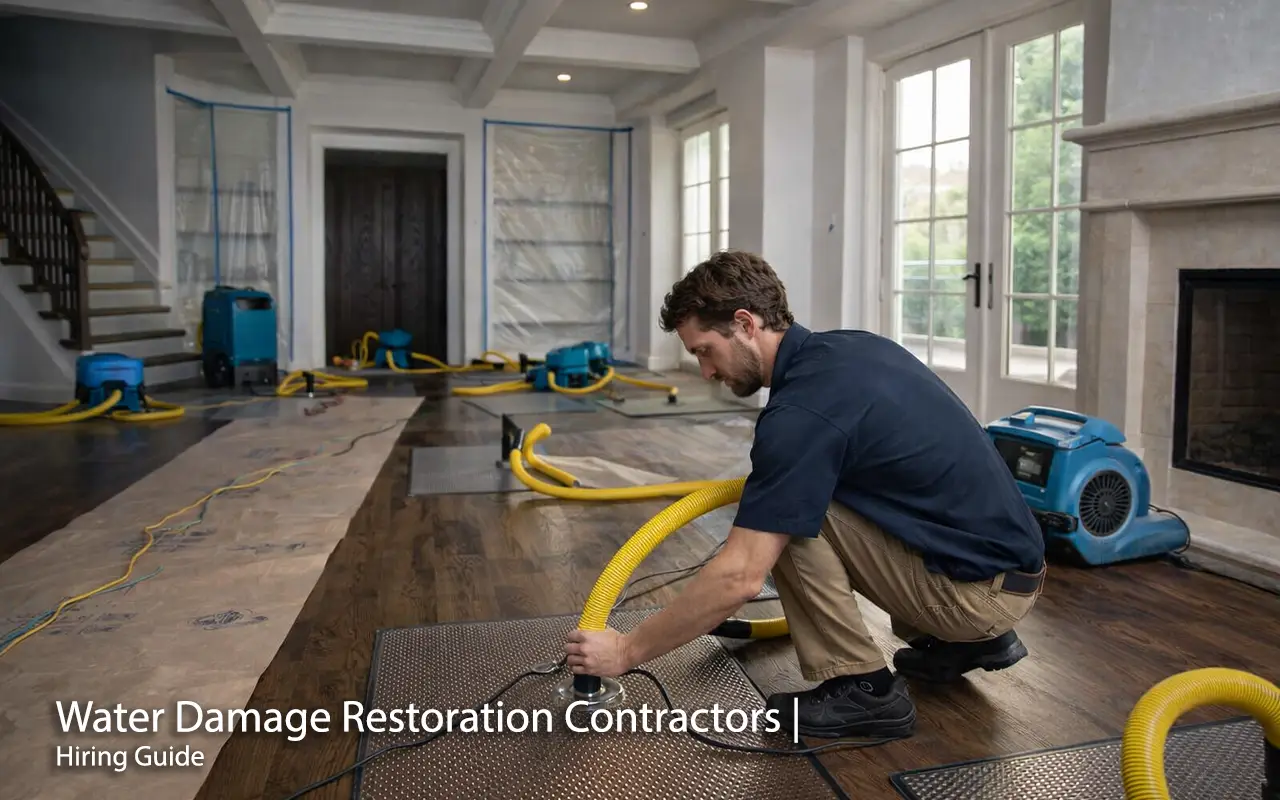
Days 1–2: Drying After Flooding and Moisture Assessment
Once immediate safety concerns are addressed, the next phase in the flood damage repair timeline focuses on drying after flooding and evaluating where moisture remains. This stage is critical because many materials appear dry on the surface while still holding water inside.
During the first 24 to 48 hours, moisture often migrates upward and sideways. Water trapped under flooring, inside wall cavities, or in crawlspaces can continue spreading even after visible water is gone. This is why early drying efforts need to be deliberate, not rushed.
What drying after flooding usually involves
- Reducing indoor humidity levels to slow moisture absorption
- Allowing airflow to reach wet framing and subfloor areas
- Checking insulation, drywall, and lower wall sections for saturation
- Monitoring crawlspaces and basements for lingering damp conditions
Many homeowners ask how long does it take for a home to fully dry after flooding. The answer depends on the materials involved, how long they stayed wet, and whether moisture can escape naturally or remains trapped.
Skipping this assessment phase can lead to delayed problems such as warped flooring, staining, odors, or mold development. Proper drying is not about speed alone—it’s about making sure moisture has actually left the structure.
Next, we’ll look at what typically becomes visible several days after flooding and why some damage doesn’t show up right away.

Water under the house?
Days 3–7: Hidden Damage Becomes Visible
Several days after flooding, homeowners often begin noticing issues that were not obvious at first. As materials continue to dry, changes in appearance, odor, and performance can reveal where moisture was trapped longer than expected.
This stage of the flood damage repair timeline is when delayed damage commonly appears. Wood framing may darken, drywall can soften or crumble near the bottom edge, and insulation may begin holding moisture instead of releasing it.
Common signs during this stage
- Musty or damp odors coming from floors or lower walls
- Discoloration on drywall, baseboards, or subflooring
- Soft spots in flooring materials
- Persistent humidity in crawlspaces or basements
Many homeowners start asking how long does water damage restoration take once these symptoms appear. The reality is that repairs often take longer when moisture was not fully addressed during the first few days.
This is also the point where hidden areas—such as crawlspaces, wall cavities, and under flooring—should be checked carefully. Damage in these locations can continue spreading even if living spaces seem mostly dry.
Up next, we’ll cover what typically happens in the following weeks and which repairs can wait versus which ones should not be delayed.
Weeks 2–4: Repairs, Replacements, and Putting the Home Back Together
After the first week, the focus shifts from drying and discovery to repair decisions. This stage of the flood damage repair timeline is where homeowners decide what can be saved, what must be replaced, and what needs long-term protection to avoid repeat damage.
Some materials recover well once fully dry. Others do not. Carpet padding, swollen MDF trim, and saturated insulation often need to be removed. Flooring may buckle or separate as it dries, and drywall that stayed wet near the bottom edge may require replacement to prevent ongoing moisture issues.
Typical work during weeks 2–4
- Removing and replacing water-damaged insulation, drywall, and trim
- Repairing or replacing flooring materials that warped or delaminated
- Addressing crawlspace moisture, wet soil, and damaged vapor barriers
- Checking framing and subfloor areas for ongoing dampness or staining
- Rebuilding affected finishes once the structure is dry and stable
A good rule is to avoid closing walls or reinstalling finishes until moisture levels are under control. Rebuilding too early can trap humidity behind drywall or under flooring, which increases odor issues and mold risk later.
What can wait vs. what should not wait
- Do not wait: wet insulation, trapped moisture in crawlspaces, soft drywall, and musty odors
- Can sometimes wait: cosmetic trim upgrades, repainting, and non-structural finish changes after drying is confirmed
Once the home is drying properly and damaged materials are removed, repairs become much more predictable. Next, we’ll cover when it makes sense to call for help, what an evaluation usually looks for, and how homeowners can avoid missing hidden moisture.

Have You Checked Your Crawloroom?
When to Call for Help and What an Inspection Covers
Not every flood requires the same response, but there are situations where an inspection is strongly recommended. If water entered a crawlspace, reached wall cavities, or stayed in contact with building materials for more than a short time, hidden moisture may still be present even after surfaces appear dry.
An inspection typically focuses on areas that homeowners cannot easily access or evaluate on their own. This includes crawlspaces, lower wall sections, insulation, subfloors, and framing. The goal is to confirm whether moisture is still trapped and determine the safest path forward before repairs are finalized.
In more severe cases, emergency water damage restoration may be necessary to stabilize conditions and prevent moisture from spreading into structural areas. Acting early often reduces the scope of repairs and lowers the risk of long-term issues.
For general guidance on flood and water-related risks, homeowners can also reference public resources such as the
Ready.gov flood preparedness guide, which outlines safety considerations before and after flooding events.
If your home was affected by water intrusion and you want to understand what repairs may be needed, you can learn more about our approach to post-flood recovery on our
water damage repair services page.
Understanding the flood damage repair timeline helps homeowners avoid rushing repairs too early or overlooking hidden moisture. A careful inspection and measured approach can make the difference between a short recovery and ongoing problems later.
Crawlspace Mold After Flooding?
Frequently Asked Questions


Leave A Comment