Project story / Renton condominium
Condo bathroom renovation in Renton, before and after
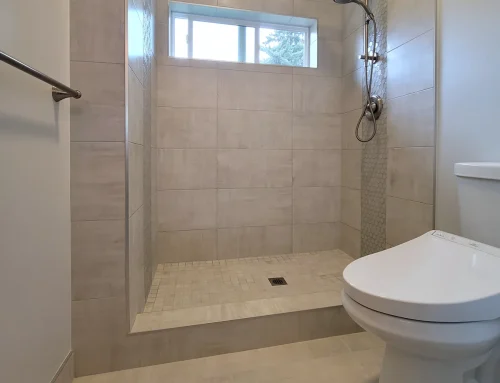
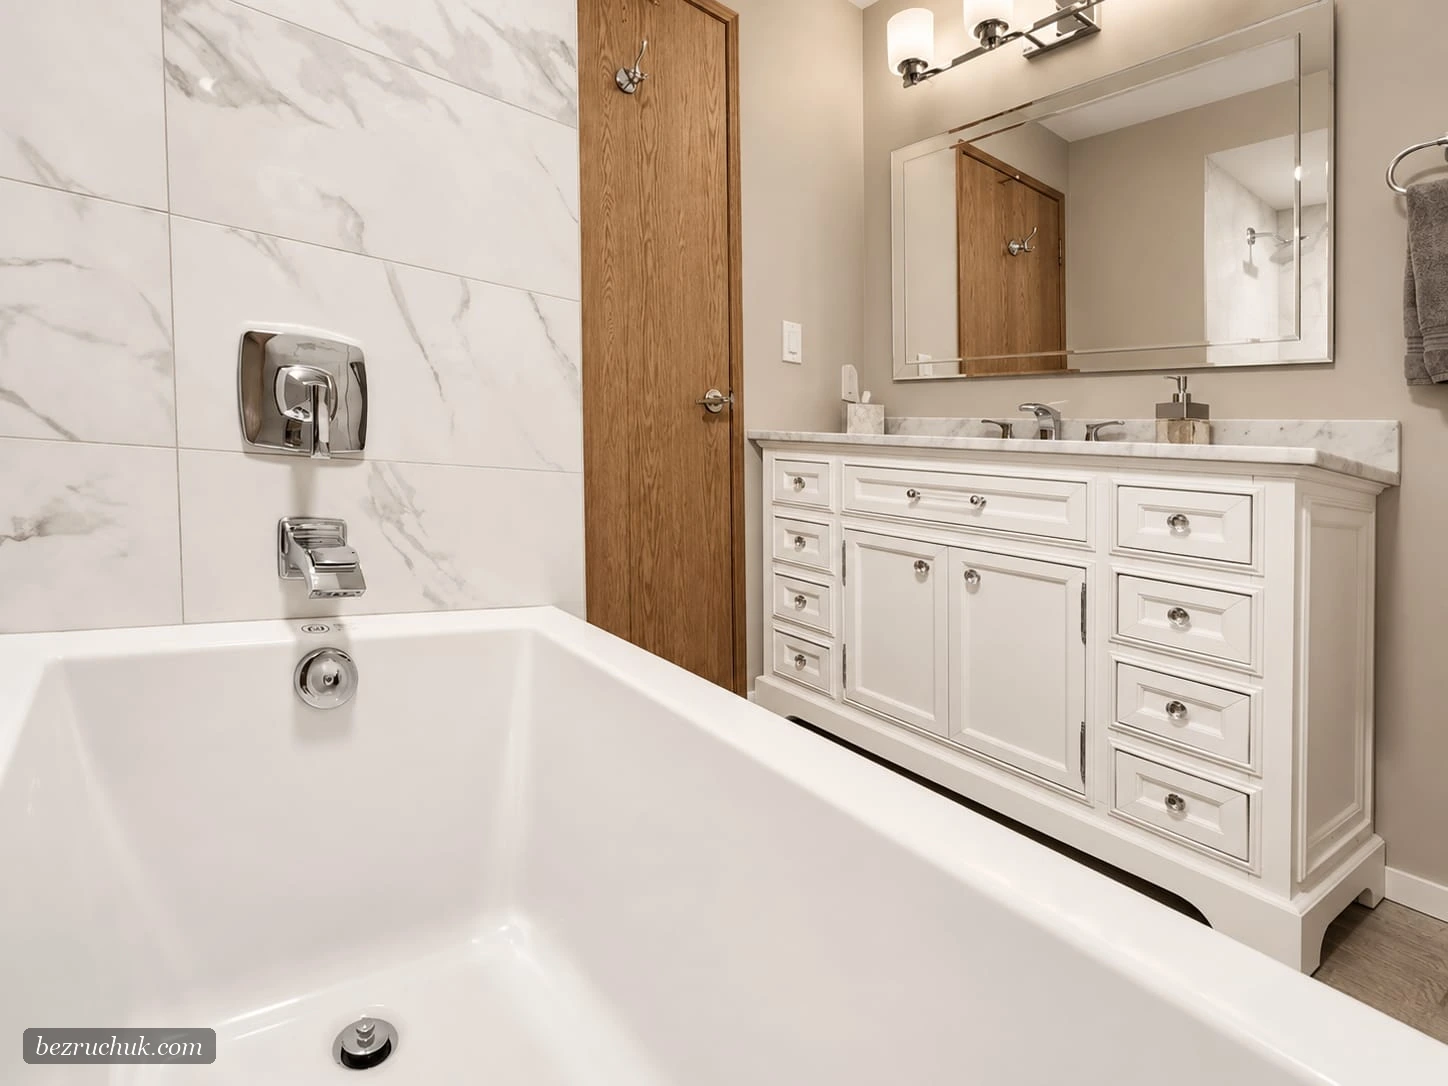
This Renton condo bathroom renovation replaced a dated tub surround with 12-by-24-inch Carrara-look porcelain tile. The finished room has LVP flooring and a white vanity. A past Renton client referred the homeowner to us.
- Location
- Renton, Washington condo
- Tub surround
- 12 x 24 Carrara-look porcelain wall tile
- Floor
- Luxury vinyl plank
- Project connection
- Referred by a previous Renton client
A Renton referral and a bathroom ready for an update
A woman in Renton contacted us after hearing about our work from another local client. Her condo bathroom needed an update, and the tub wall was the clearest place to start. The before photograph shows a cream-colored surround with soft marbling, a shower curtain and a dark-trimmed light above. In the finished view, large white porcelain tiles with gray Carrara-style veining frame the tub.
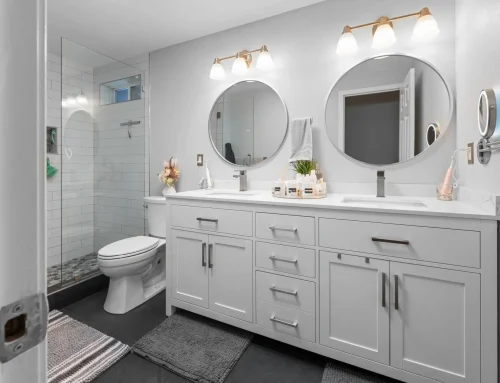
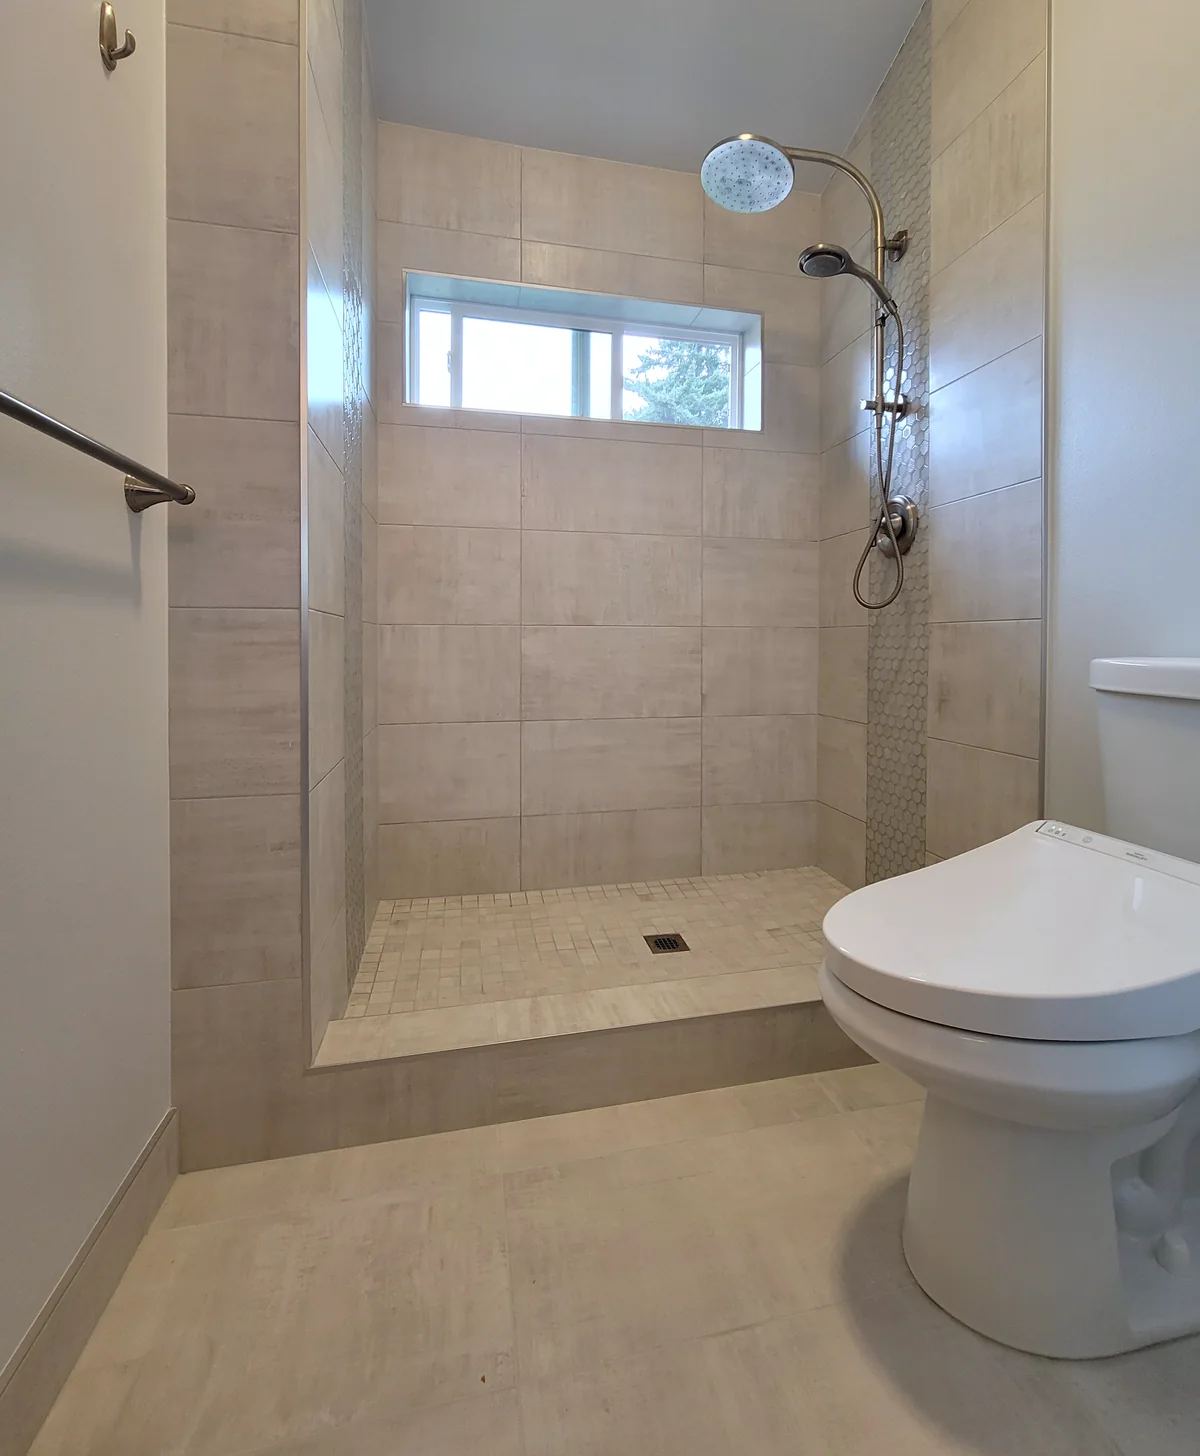
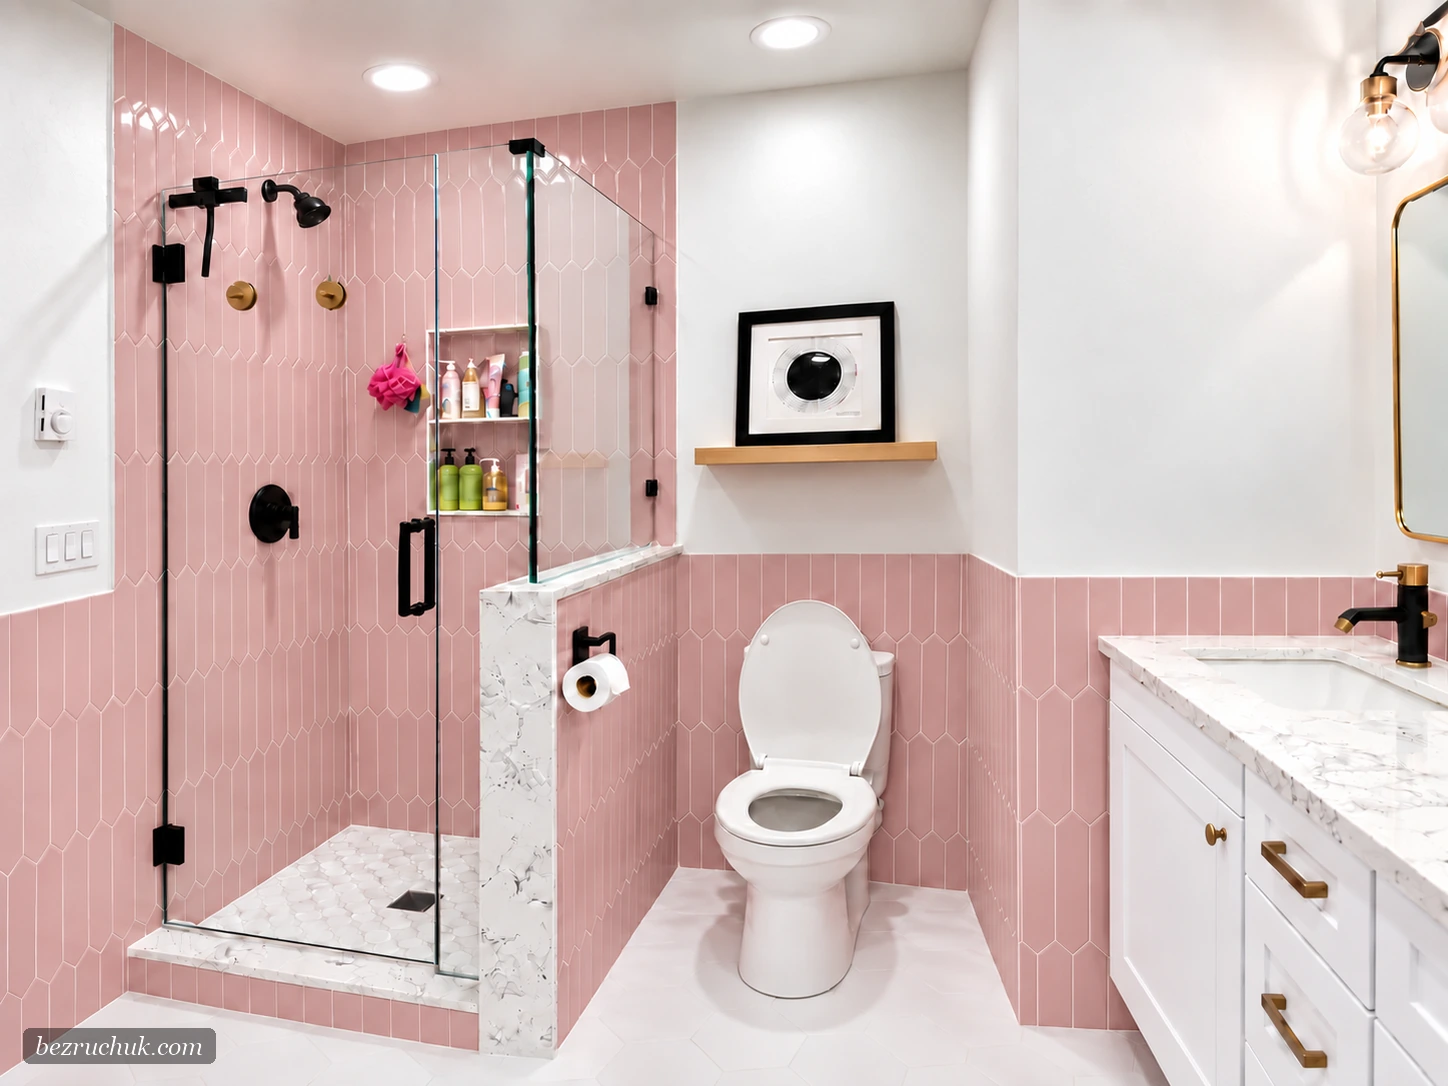
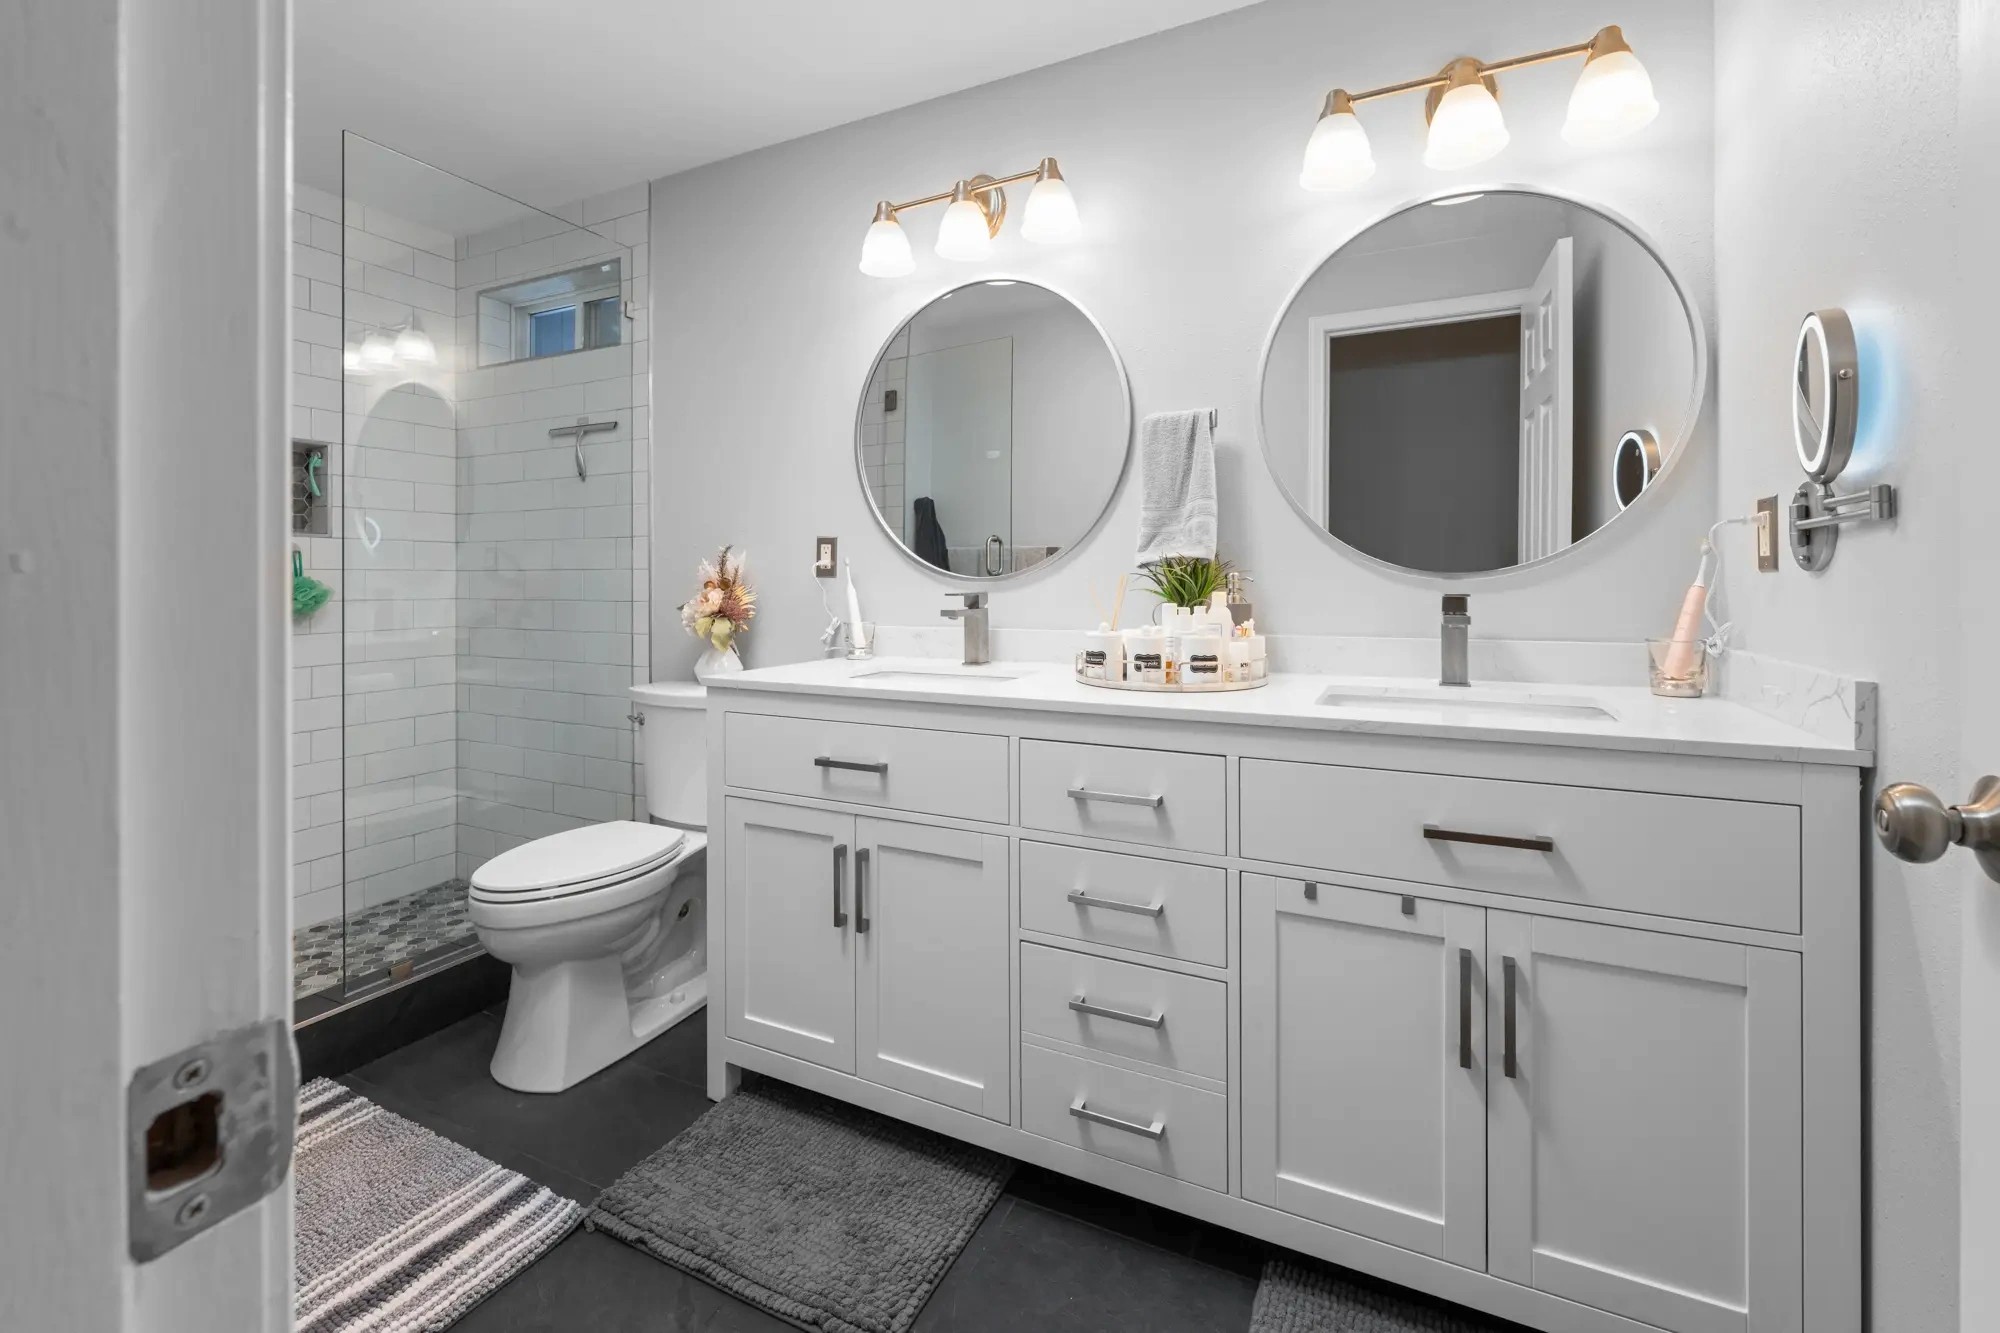
That before-and-after difference is easy to see, but the room is more than a new wall finish. The final photographs show a white vanity, a light countertop, chrome hardware, a broad mirror and luxury vinyl plank flooring. The tile and floor pull the room in a lighter direction while the vanity provides the storage a bathroom needs every day.
The referral mattered to this homeowner. She had heard about our work from another Renton client and could see the results before deciding whom to call. Once the project was complete, the photos show a bathroom with a consistent set of choices rather than one new feature surrounded by old finishes. The tub wall, floor and vanity all contribute to that change.
What changed at the tub alcove
The paired photos look toward the tub from a similar side of the room. Before, the wall surface reads as one cream-colored field. Its marbled pattern is subtle from a distance, and the curtain partly hides the bathing area. After, the 12-by-24-inch Carrara-look porcelain tile introduces a clearer grid and a much brighter white background. The gray veining remains quiet enough that the tub does not feel busy.
The tub occupies the same alcove in both photographs, so the change is easy to compare. The old surround had a busier surface, while the new tile creates a cleaner backdrop for the bathing area. In the after view, the straight tile courses and narrow grout joints bring more definition to the tub wall. You can open the original photographs below the slider to see each view in full.
The camera positions are close, though not identical. Look at the tub and back corner as common reference points while moving the slider. Then look at the wide finished photograph above: the new wall surface works with the vanity and floor rather than sitting apart from them.
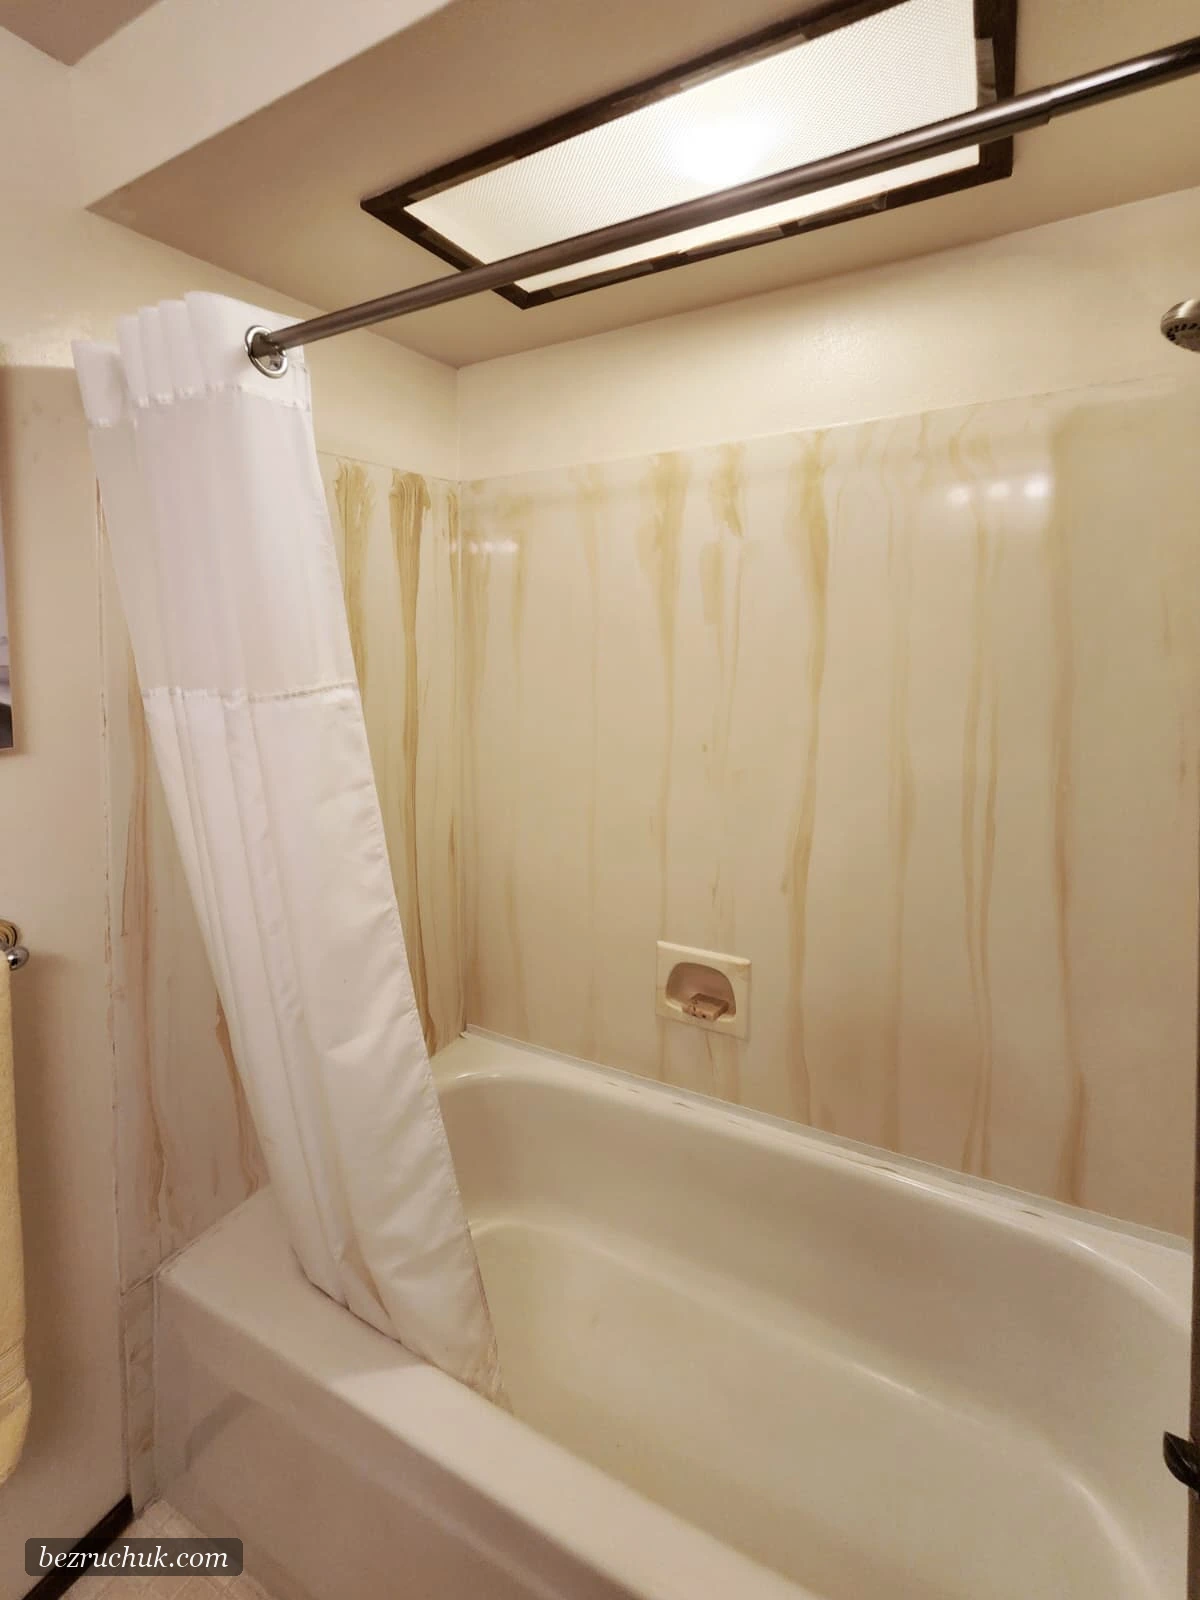
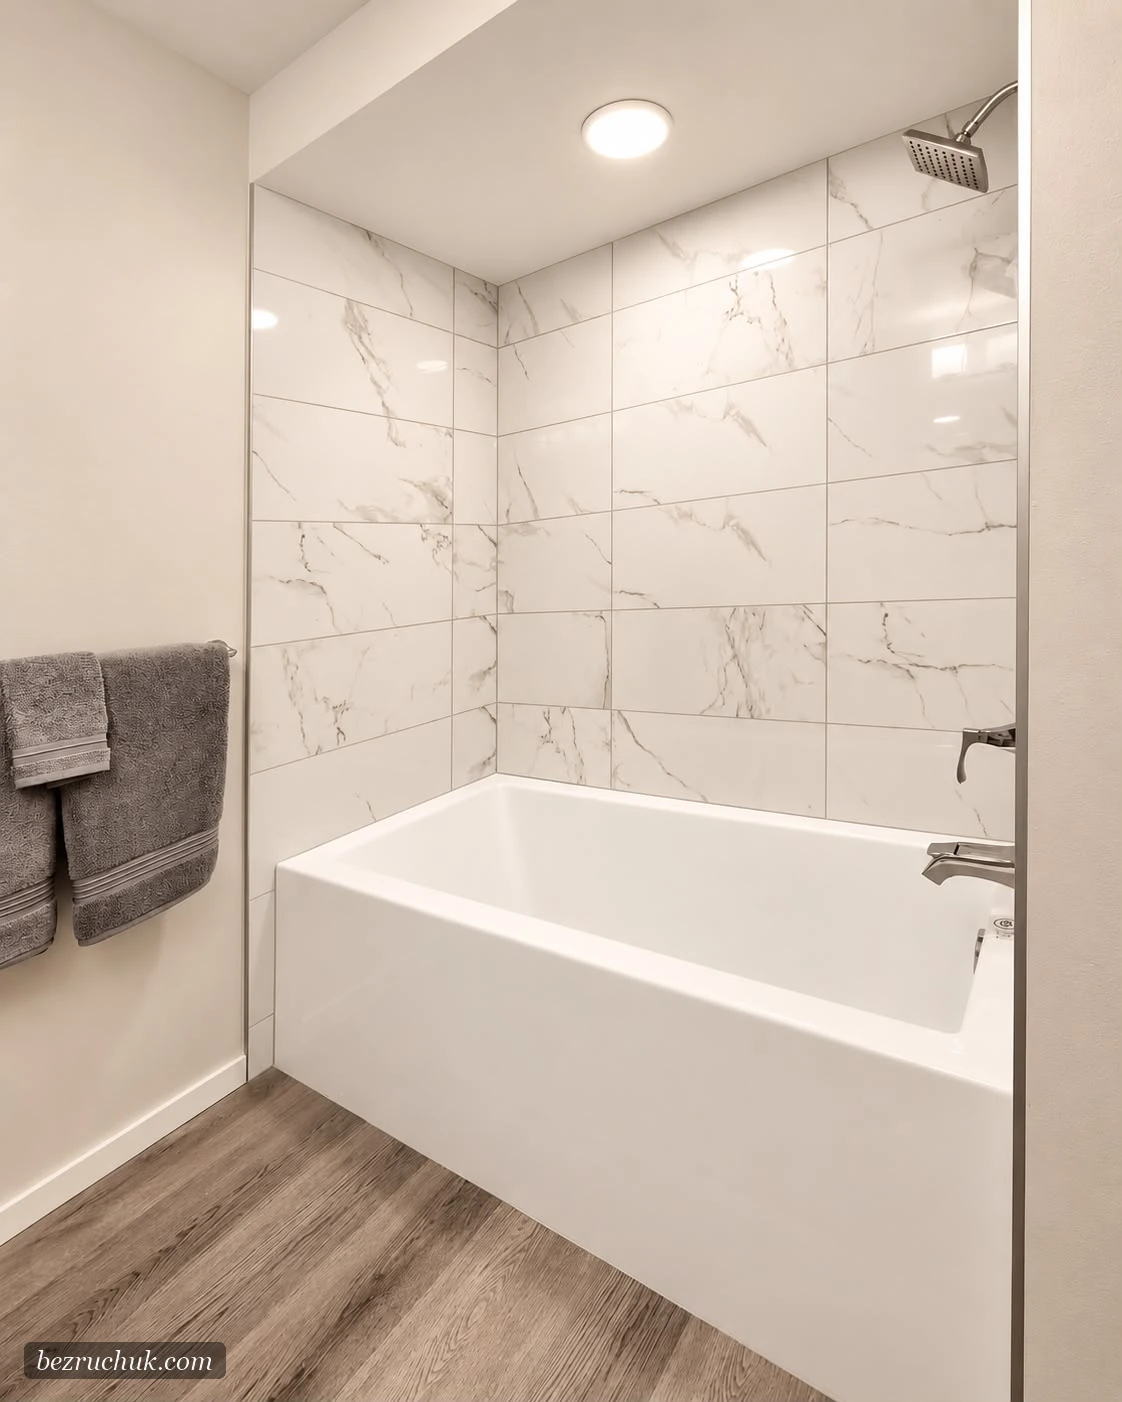
Drag to compare the tub alcove before and after. Open either photograph to see its full original view.
Why the 12-by-24 wall tile works here
Carrara-style veining can be dramatic when it covers a large room. In this tub surround, the gray marks sit on mostly white porcelain, so the wall feels bright without becoming blank. The 12-by-24-inch format also gives the small alcove fewer visible grout lines than a smaller field tile would. Its long horizontal courses draw the eye across the back wall.
The side wall and back wall have to read together. At the inside corner, the tile lines turn into the adjoining surface; around the plumbing and tub edge, the cuts become more noticeable because the large rectangles are easy to follow. That is why layout is worth discussing before installation. The tile choice matters, but so do the starting point, the heights of the rows and the way the finish ends at the outer edge of the alcove.
Porcelain is the visible surface, but the work behind the tile matters just as much. A tub surround needs appropriate wall preparation and water-management details before the finished tile goes on. When comparing proposals for a similar project, ask how the walls will be prepared, how the tub-to-wall transition will be handled and where the tile will stop at the open edge.
A wood-look floor without changing the palette
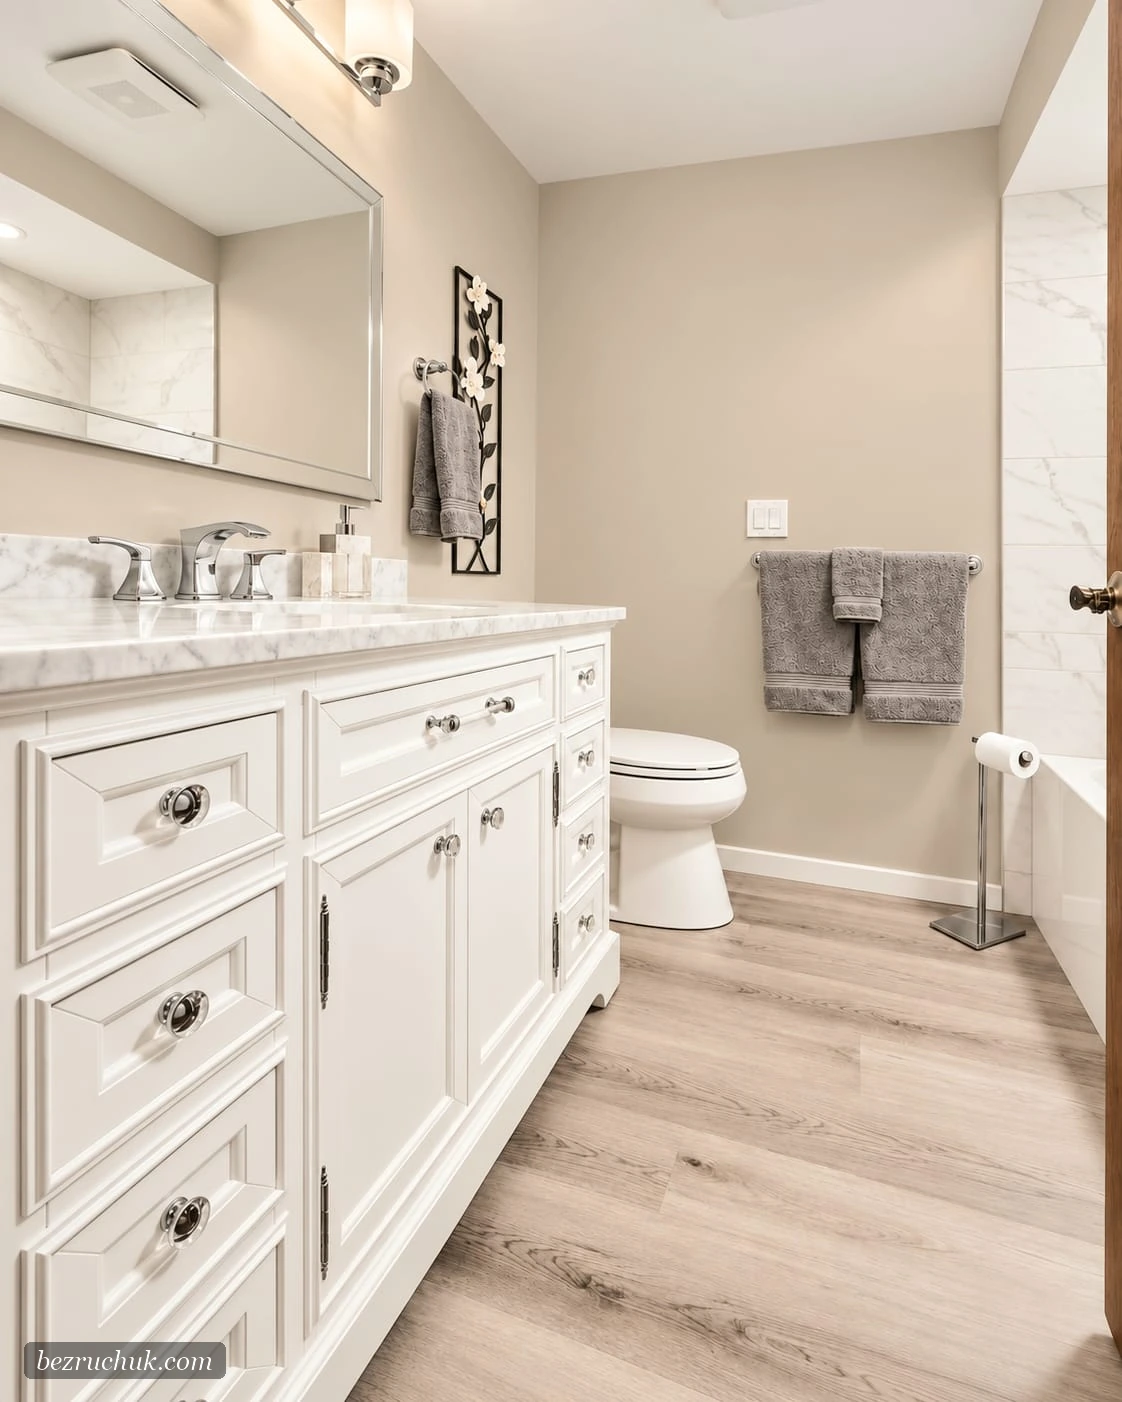
The new floor is LVP, or luxury vinyl plank. Its gray-brown wood look brings some warmth to the otherwise white and gray bathroom. In the wide view, the planks lead from the vanity toward the tub and make the room feel continuous. The color also connects naturally with the soft gray towels and the veining in the tile and countertop.
A bathroom floor should be chosen for more than its sample color. The product's installation instructions, the subfloor condition and the details at the tub, toilet, walls and doorway all matter. In this room, the wood-look pattern softens the straight lines of the tile and vanity. It also keeps the bathroom from feeling entirely white, while the narrower planks give the floor a clear direction toward the tub.
Floor work in a condo deserves an early conversation about the building's rules. Some associations require sound-control underlayment, limit work hours or specify how deliveries and common corridors must be protected. Requirements vary by property, so it is best to check before ordering flooring. That is especially useful when choosing an LVP product, because the approved floor assembly can affect what goes beneath the planks.
Storage and detail at the white vanity
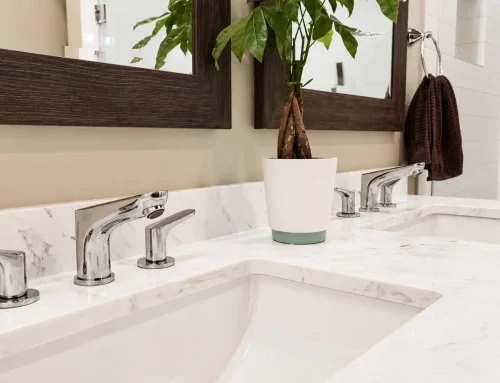
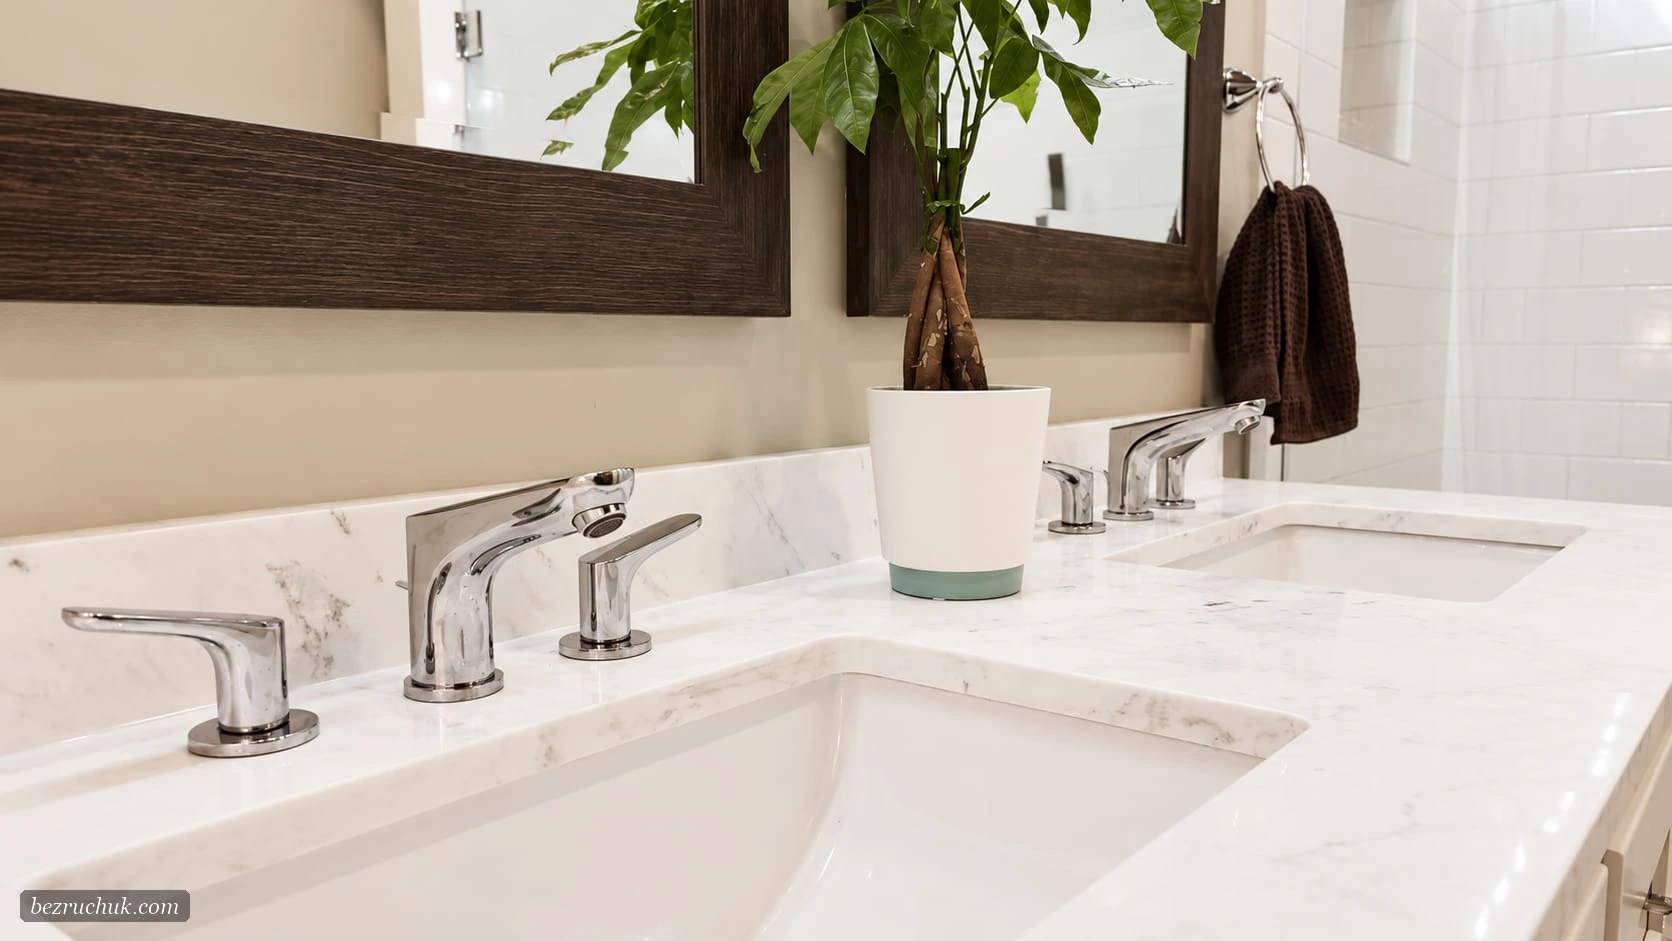
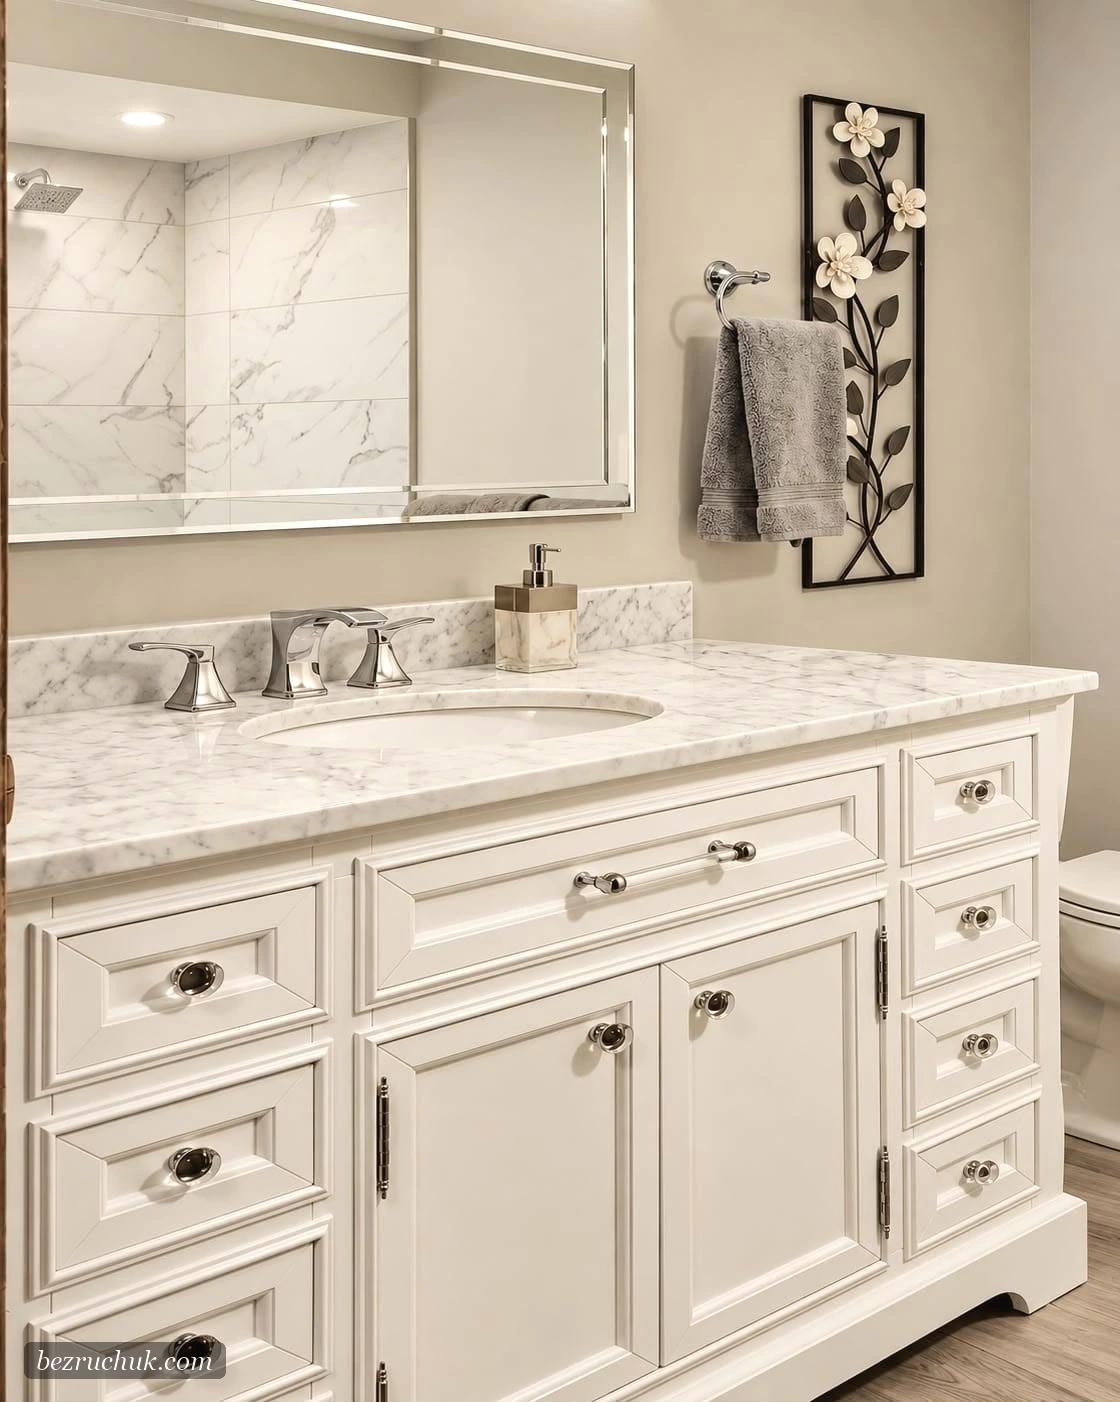
The white vanity is one of the finished room's strongest features. Paneled doors, a center cabinet and several drawers give it a furniture-like face. The countertop is light with gray patterning, and a short matching backsplash runs behind the sink. Chrome pulls, faucet and light fixture keep the metal finish consistent.
The close photograph shows why the vanity feels more substantial than a plain white box. The doors and drawers have recessed panels and trim; the hardware is placed consistently; the counter edge has enough thickness to register against the cabinet below. Those are small details, but they are what a person sees each morning while using the sink. A large mirror above reflects the renovated tub wall and makes the same light finishes visible from both sides of the room.
In the wider photographs, the toilet sits between the vanity and tub wall. The vanity does not visually crowd that passage because its white finish blends with the lighter walls. From the doorway, the eye moves past the cabinet to the newly tiled alcove. The whole room feels connected because the large surfaces agree on color, while the floor adds the warmer note that keeps the space comfortable.
Planning a bathroom renovation in a condo
Condo work begins with a room inside a larger building. Before planning a bathroom like this one, a homeowner should ask what the association allows, who handles any required notices and how workers and materials reach the unit. Shared corridors, parking and nearby neighbors can affect scheduling and protection, even when the bathroom design itself is straightforward. The rules vary from one building to another.
The City of Renton's residential interior remodel guidance is a useful starting point for checking city requirements. The exact permit path depends on the work proposed and where the property falls under local jurisdiction. A condo association may have a separate review process. Nothing in the photographs tells us which approvals were needed for this particular project, so we are not claiming a permit or association approval that is not documented.
The practical order is to define the scope, check the building rules, choose materials that suit the room, and make sure the wet-area assembly and floor transitions are planned before the installation dates are set. That approach also helps the homeowner compare bids: one proposal may cover only visible finishes while another includes preparation, protection, and the work needed to put everything back together properly.
What to take from this Renton condo bathroom
The best before-and-after projects are useful because they show a real room, not a sample board. Here, the old cream-colored tub wall became a white Carrara-look porcelain surround. The flooring adds a wood tone, and the vanity brings storage and a finished edge to the sink wall. None of those choices needs to be extravagant to make the bathroom feel new.
If you are planning a similar project, start by deciding what must change and what might stay. A tub in the right position may be worth keeping in that location, even if the surrounding finishes need replacement. If the vanity lacks storage, that choice may matter more to daily life than changing the room's outline. Send clear photos of each wall, the tub, the floor and any problem areas when requesting a scope. They make the first conversation more useful.
For early budgeting, our bathroom remodel cost calculator can help compare broad scopes; it is not a quote for this project. You can also browse our Washington bathroom project collection to see different layouts and finishes. This Renton condo shows what a focused renovation can accomplish when the tub area, vanity and floor are considered as one room.
Questions about this condo bathroom
What changed in this Renton condo bathroom?
The visible renovation includes a 12-by-24-inch Carrara-look porcelain tub surround, LVP flooring and a white vanity with a light counter and chrome hardware.
Was the bathtub moved?
The before and after photos show a tub in the same alcove position. The available project details do not establish whether the tub or plumbing was replaced.
Why use large porcelain tile on the tub wall?
The 12-by-24-inch format creates broad, bright surfaces with fewer visible grout lines than small field tile. The layout and wet-area preparation still matter.
Do condo bathroom projects need association approval?
Requirements vary by building and by scope. Owners should review their association documents and confirm any building access, work-hour or approval rules before construction.
How should I start planning a similar renovation?
Photograph each wall, list what you want to keep or change, check building rules and discuss the tub surround, floor, vanity, and any plumbing or electrical work as one scope.
Planning a bathroom of your own?
Tell us about your current room, the changes you want and any building requirements you already know. We can review the tub area, flooring, storage and scope together.
Request a project review