Project story / Carnation, Washington
Curbless shower remodel
in Carnation, WA
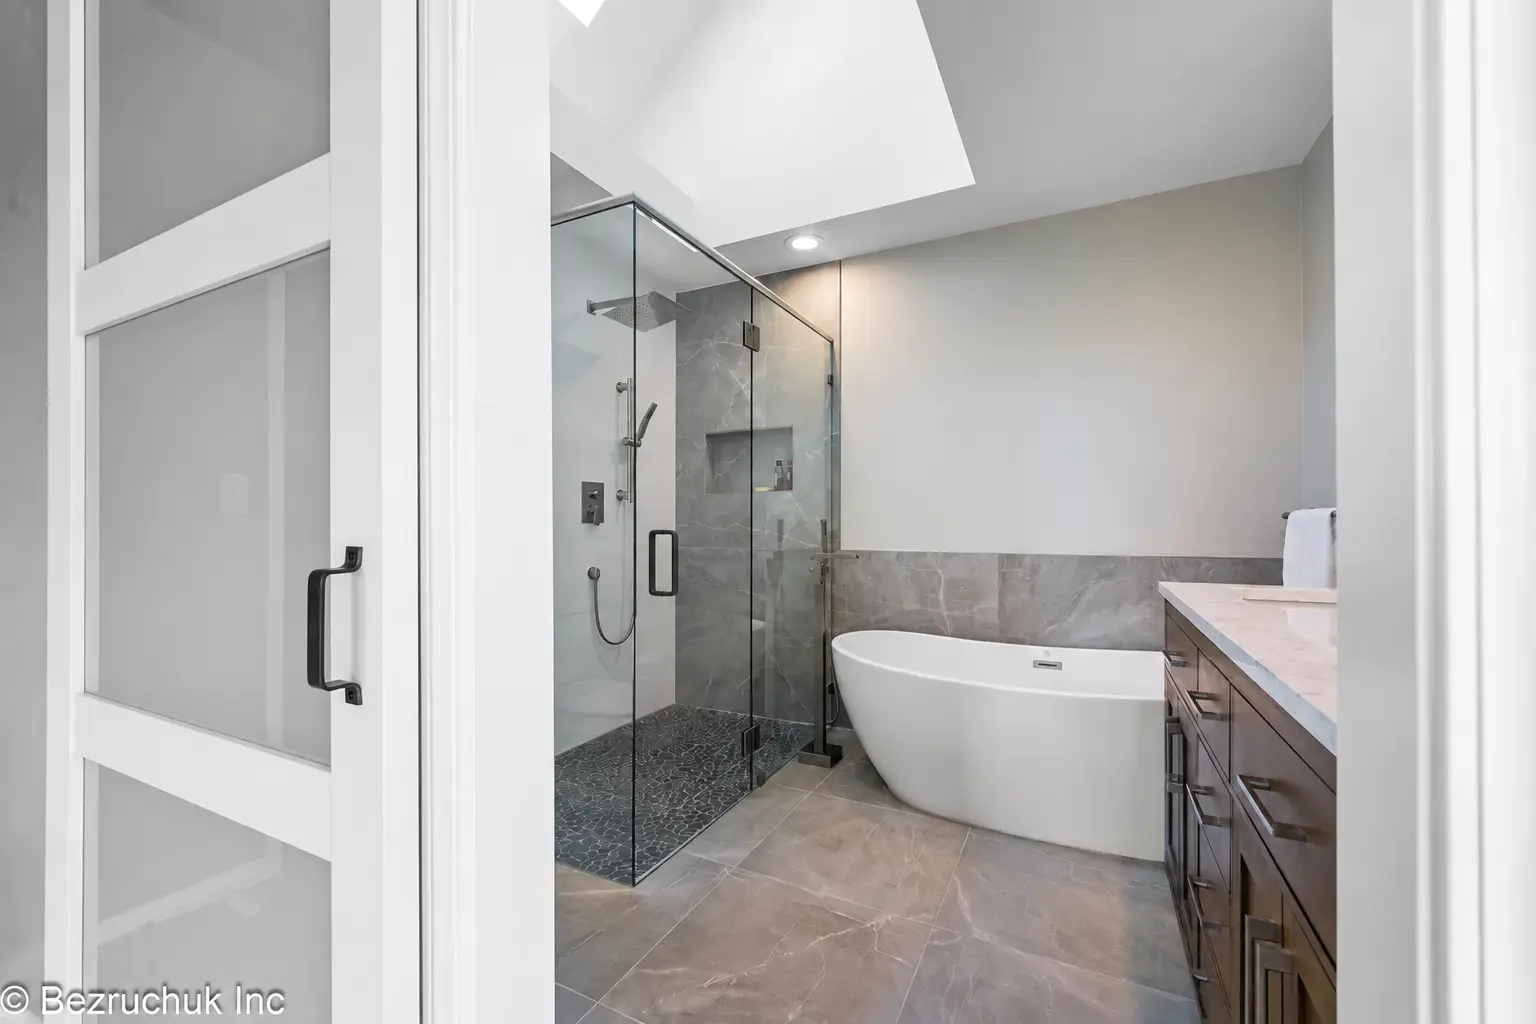
A glass shower, freestanding tub and wood double vanity bring a more open feel to this bathroom. Gray porcelain tile and a heated floor connect the room with a quiet, practical finish palette.
- Location
- Carnation, Washington
- Scope
- Full bathroom remodel
- Main feature
- Curbless shower + freestanding tub
- Material palette
- Gray porcelain + wood + clear glass
A more open bathroom in Carnation
This curbless shower remodel in Carnation, Washington, brought a walk-in shower, freestanding soaking tub and double vanity into one coordinated bathroom. The homeowners wanted a comfortable room with natural textures and a less enclosed bathing area.
The work included removing the old tub, dated flooring and enclosed shower before installing the new bathroom finishes and fixtures. Large gray porcelain tiles now sit alongside clear shower glass, a white tub and a wood vanity. A heated floor adds another comfort feature to the finished space.
The completed photographs show how the separate areas relate to one another: the shower stands beside the tub, the vanity runs along the opposite side, and the tile palette carries between them. The design gives each fixture its place without dividing the room with opaque shower walls.
A curbless shower with clear glass and recessed storage
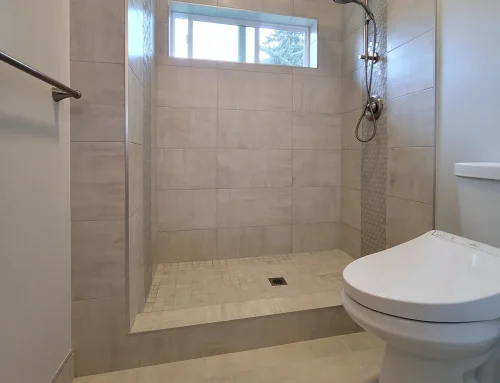
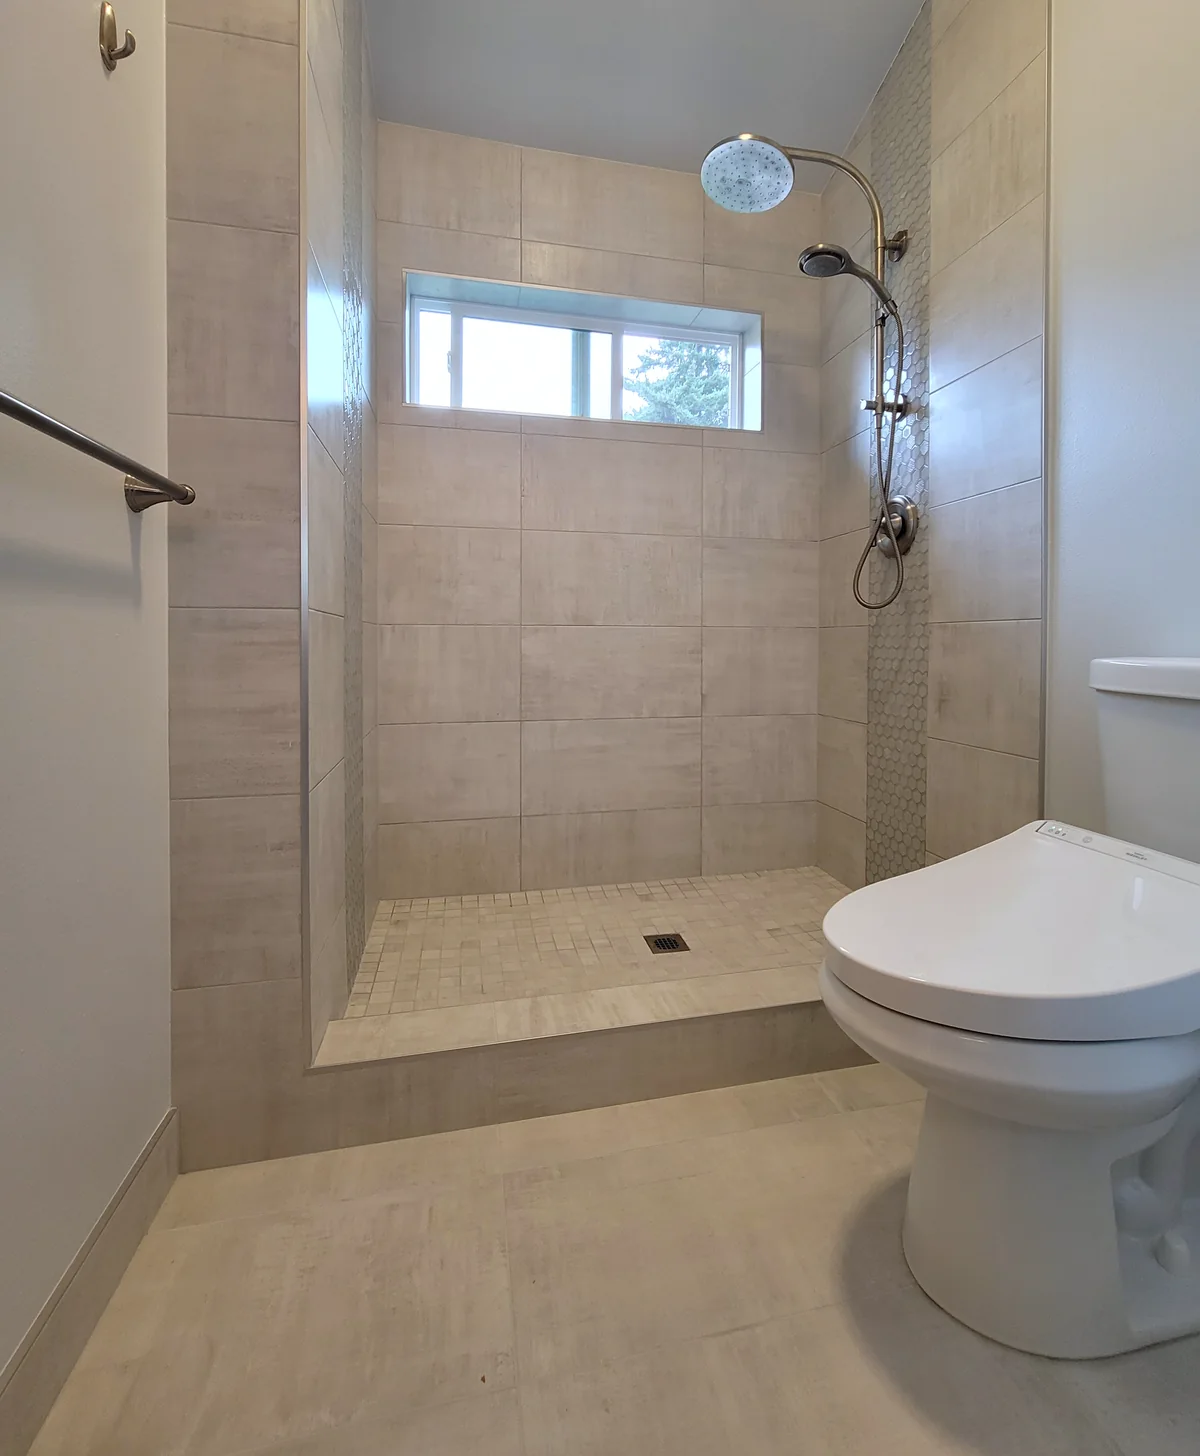
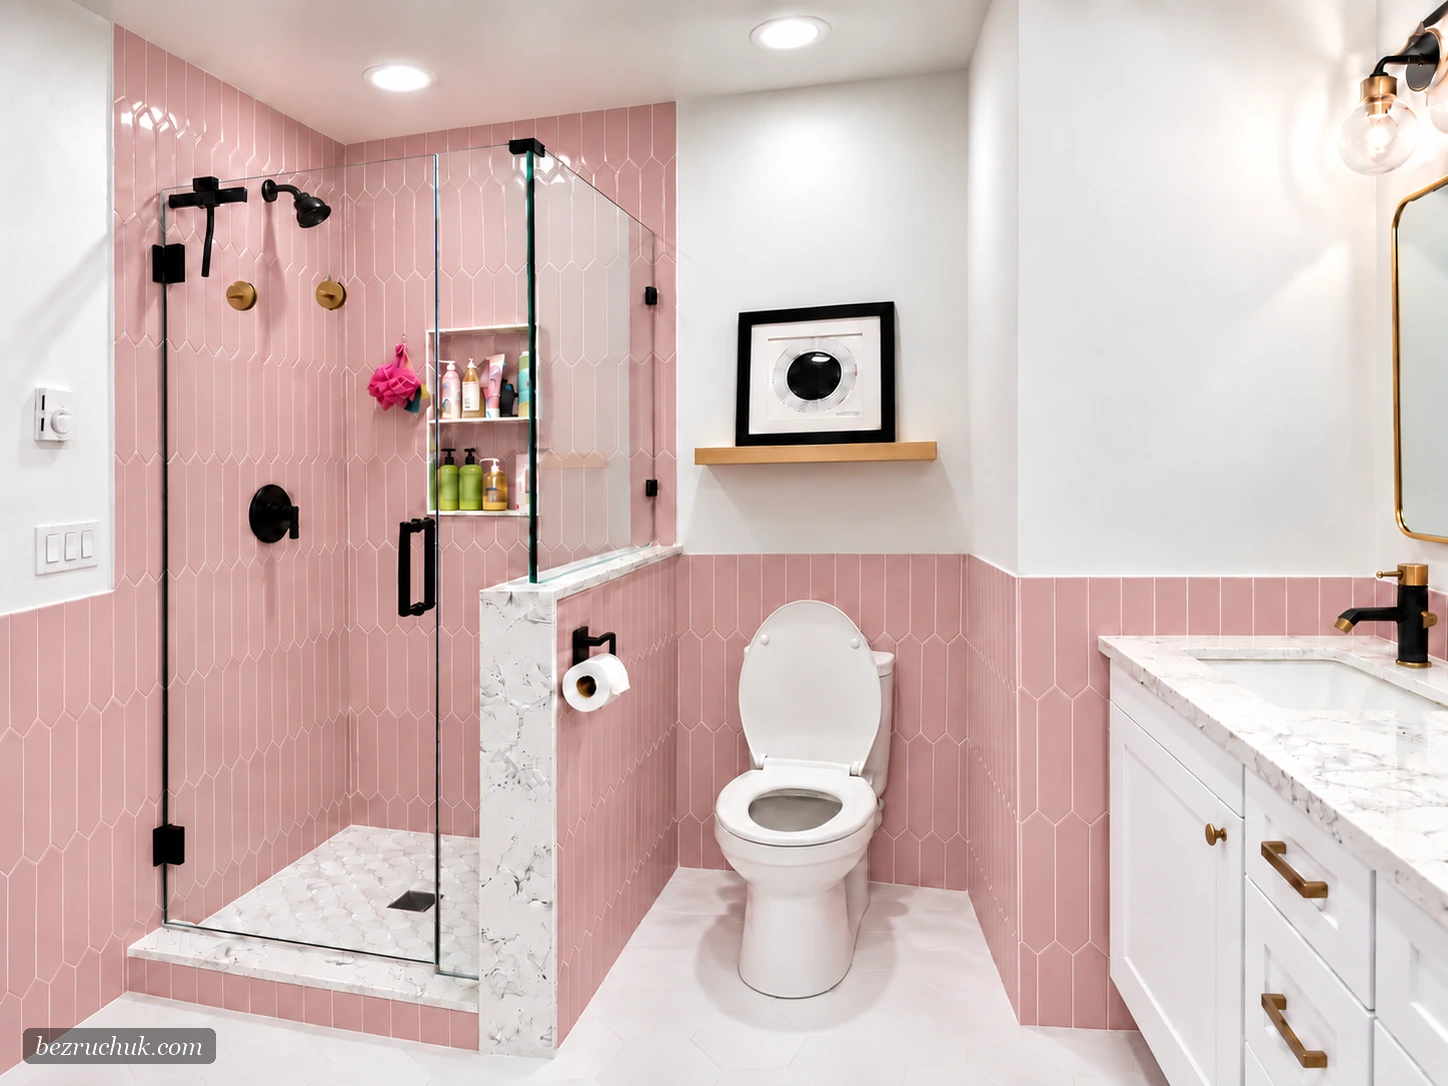
The curbless entry removes the raised step at the shower opening. Clear glass keeps the tiled walls visible, while the dark mosaic shower floor gives the bathing area a distinct surface within the larger gray floor.


A recessed niche holds bottles inside the tiled wall. The finished shower also includes an overhead showerhead and a hand shower, with metal fittings and glass hardware that sit quietly against the gray tile.
Floor levels, drainage and waterproofing work together
The original project record identifies Schluter KERDI membrane, banding and a 40-inch tileable linear drain. Those components belong to the work beneath and within the tile assembly, where water management has to be considered alongside the finished floor height.
For anyone planning a similar shower, the threshold is only one part of the design. Floor slope, drainage, waterproofing connections and enclosure placement need to be coordinated. Schluter’s curbless shower guidance explains these relationships. A curbless entry by itself does not establish that the whole bathroom meets a particular accessibility standard.
Keeping a soaking tub beside the shower
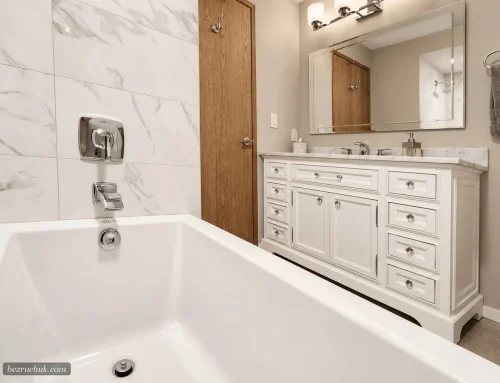
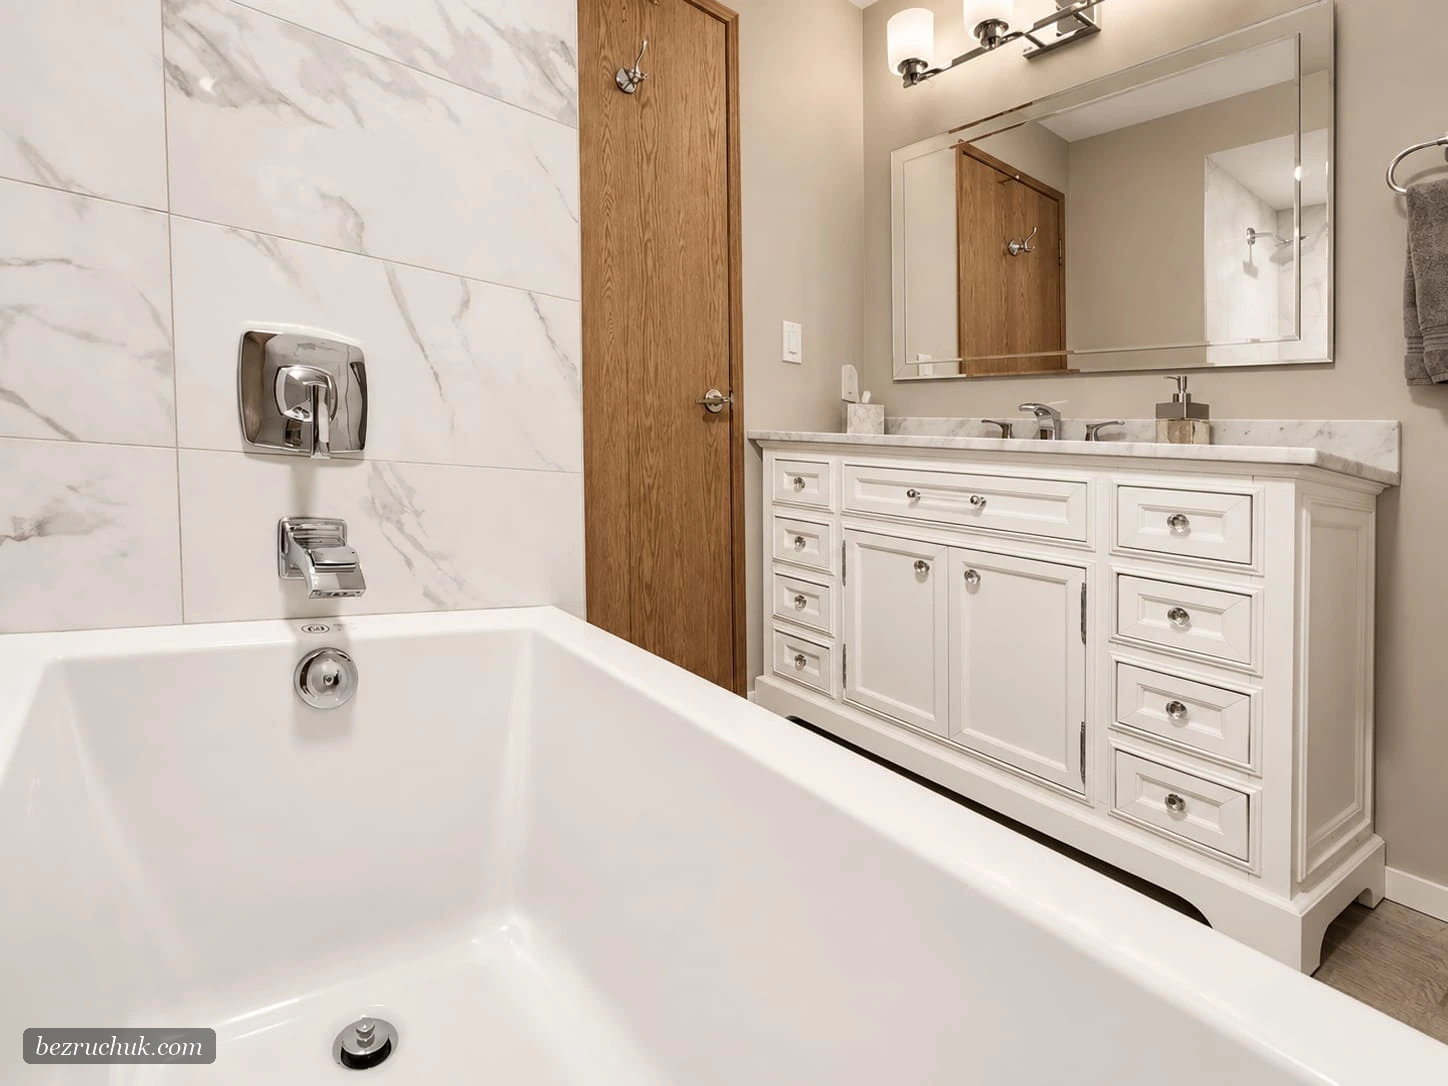
The white freestanding tub sits between the glass enclosure and the vanity area, with a floor-mounted filler beside it. Its curved shape softens the straight lines of the tiles, glass panels and cabinet drawers.

The tub and shower remain separate fixtures. That arrangement lets the room provide both ways to bathe while keeping a clear view across the space. For another home, fitting both would depend on the room dimensions, access and fixture clearances.
A wood double vanity balances the gray tile
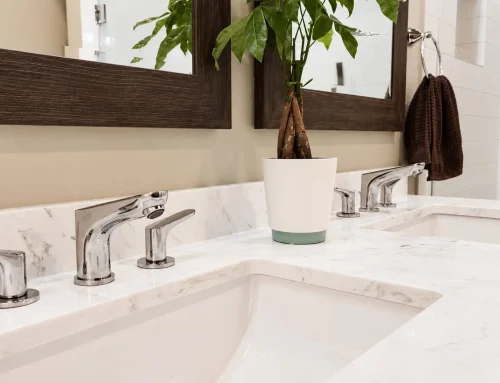
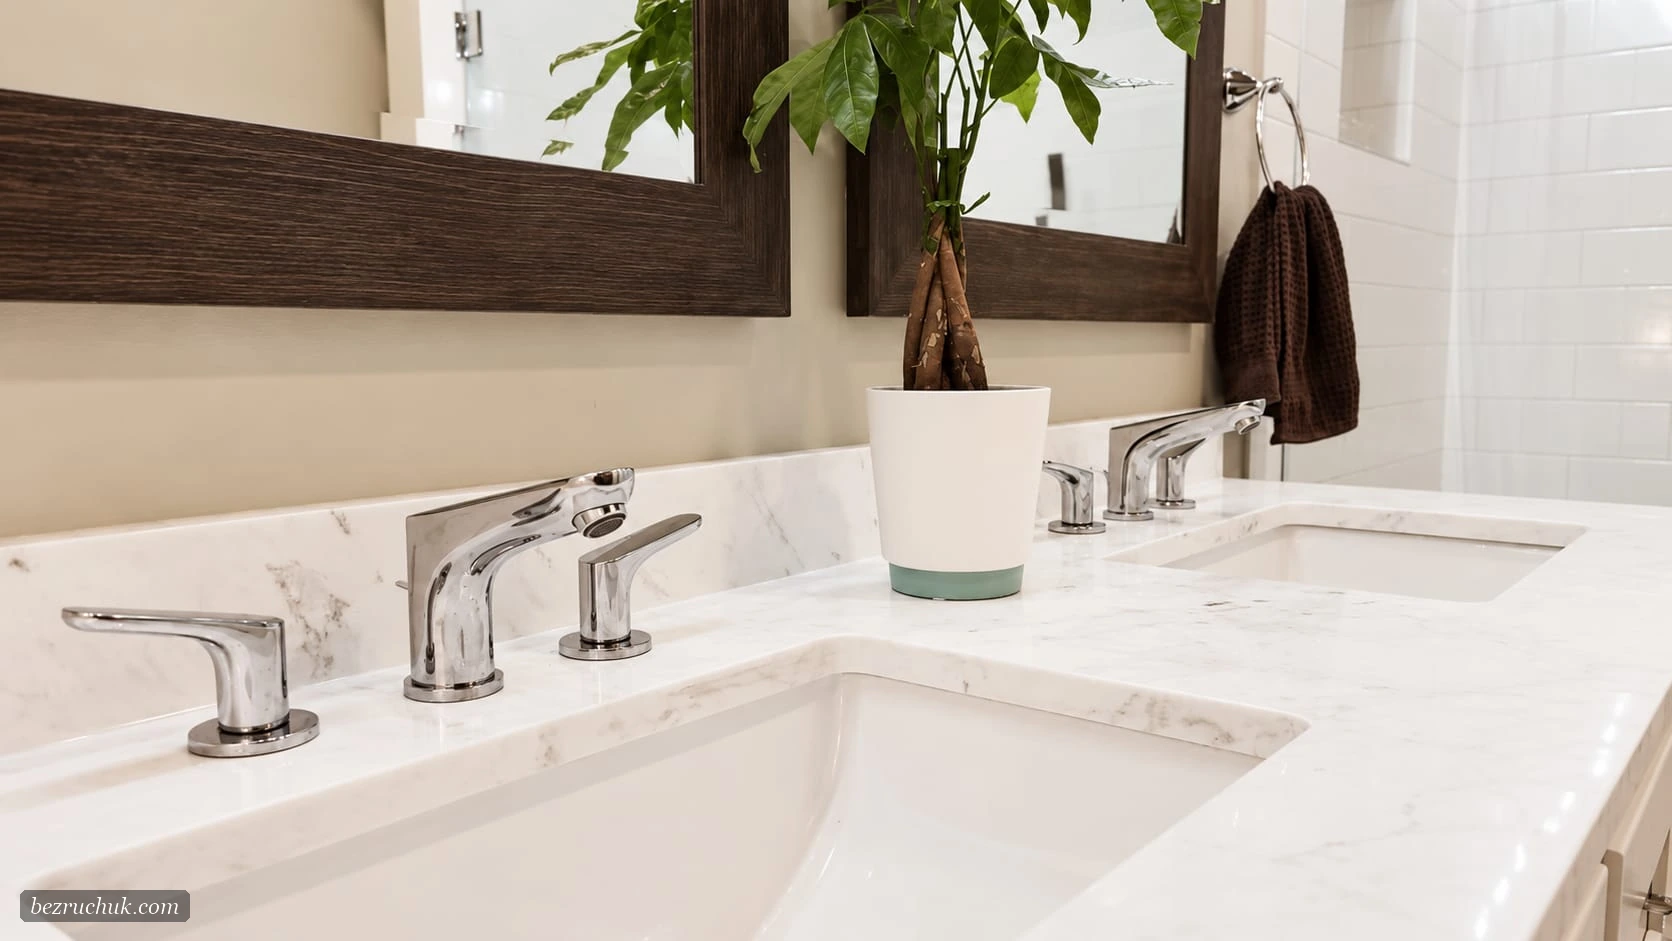
The wood cabinet brings a warmer surface into the room. Two sinks share a light marble-look countertop, with drawers and doors below and a broad mirror above. Metal-finish faucets and cabinet pulls repeat the restrained detailing used around the shower.

Recessed ceiling lights illuminate the vanity area. The large mirror reflects the shower and overhead light, helping the separate parts of the bathroom read as one room.
Porcelain tile, wood and a heated floor
The main floor uses 24 × 24-inch porcelain tile in the cement-silver finish identified for this project. The wall selection is 12 × 24-inch polished marble-look porcelain. The larger formats give the gray surfaces a different scale from the small mosaic pieces on the shower floor.
| Element | Project selection |
|---|---|
| Main floor | 24 × 24-inch porcelain tile, described in the project record as a cement-silver finish. |
| Wall tile | 12 × 24-inch polished marble-look porcelain in a gray palette. |
| Shower floor | Dark small-format mosaic visible within the glass enclosure. |
| Waterproofing and drain | Schluter KERDI membrane and banding; the project record specifies a 40-inch tileable linear drain. |
| Floor comfort | A heated floor is documented; no heating-system brand or model is specified. |
| Glass and storage | Custom clear shower glass and a recessed tiled niche. |
| Bathtub | White freestanding soaking tub with a floor-mounted filler. |
| Vanity | Wood double vanity, light marble-look top, two sinks and a wide mirror. |
| Fixtures and lighting | Metal-finish fittings and recessed ceiling lighting visible in the completed photographs. |
Floor heating was included in the remodel. Its brand and system model were not recorded in the article, so the material list keeps that detail general. The countertop is described by its marble-like appearance rather than assuming a particular stone or manufactured material.
From the old bathing area to the finished room
The renovation began with removal of the old tub, shower and flooring. The new layout brought the curbless shower and freestanding tub together, with the double vanity completing the main fixture arrangement.
Waterproofing and drainage were part of the shower work before the finished tile and glass could define the space. The large floor and wall tiles, smaller shower mosaic, recessed niche and heated floor were coordinated with the new fixtures.
The photographs document the completed bathroom. No before or construction-stage photographs are included in this project gallery, so the views below focus on the finished layout and its details.
Explore the Carnation bathroom
Open any image for a larger view. The six photographs cover the doorway, shower niche, glass enclosure, tub and double vanity.

Start with the room and the way you use it
A similar project starts with decisions about the shower entry, whether to keep a separate tub, the storage needed at the vanity and the existing floor and plumbing conditions. Choosing finishes alongside those decisions helps the layout and the materials work together.
For an overview of our approach on the Eastside, see our Bellevue bathroom remodeling services. This featured project was completed in Carnation. Our flooring installation services may also be useful when planning the surfaces inside and beyond the bathroom.
Questions about this curbless shower remodel
How does a curbless shower help contain water?
A curbless entry depends on coordinated floor levels, a sloped shower floor, drainage, waterproofing and the glass layout. This Carnation project includes a glass enclosure, Schluter KERDI waterproofing and a linear drain. Removing the curb alone does not control water or establish that a shower meets accessibility requirements.
Can a bathroom include both a curbless shower and a freestanding tub?
Yes, when the room has enough space for both fixtures and their required clearances. This bathroom places a freestanding tub beside the enclosed shower, keeping them as separate bathing areas within the same room.
What waterproofing was used in this Carnation bathroom?
The original project record identifies Schluter KERDI membrane and banding in the shower, together with a 40-inch tileable linear drain. The waterproofing, seams, connections and drainage need to be planned as a complete assembly; the tile surface alone is not the waterproofing system.
Was the whole vanity replaced or just the countertop?
The remodel included a complete wood double vanity with a light marble-look top and two sinks. For another bathroom, keeping a cabinet or replacing it depends on its condition, the plumbing arrangement, the size of the new top and the storage needed.
Does a curbless shower change the remodeling budget?
It can. Floor levels, framing, drain placement, waterproofing and glass all affect the work involved. This article does not give a price for the Carnation project. A useful estimate needs the room measurements, existing conditions and the selected finishes.
Planning a bathroom remodel in Carnation?
Tell us about your existing bathroom and the changes you have in mind. We can discuss the layout, shower, tub, vanity and next steps for your project.
Request a remodel estimate